Updated Kitchens with Smart Appliances: Creative Design Ideas and Connected Concepts
Smart technology has revolutionized kitchen design — but it’s not just about screens and sensors. Today’s homeowners are finding creative ways to make technology feel natural, stylish, and even artistic. The modern kitchen blends warmth, personality, and innovation seamlessly.
This intelligent appliance integration for kitchens guide explores design-forward ways to bring connectivity and creativity together in your remodel.
1. Make the Tech Invisible
The best smart kitchens don’t look high-tech — they feel intuitive.
Hide screens behind tinted glass panels that illuminate when needed.
Use appliance garages to tuck away coffee systems and blenders.
Integrate touch-sensitive drawers instead of visible handles.
When tech is designed to disappear, the space feels warm, open, and timeless.
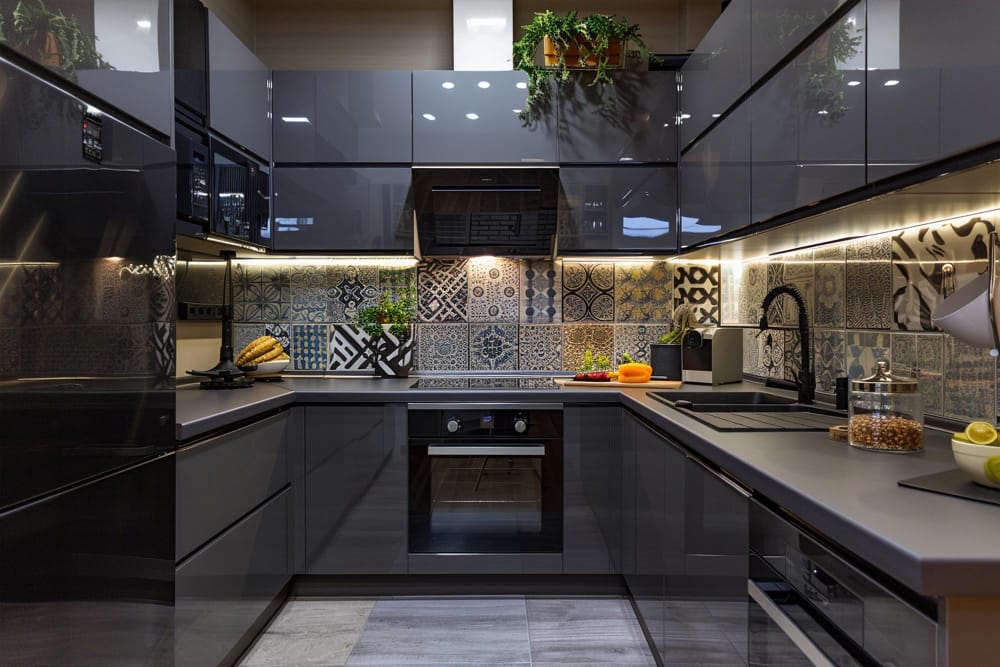
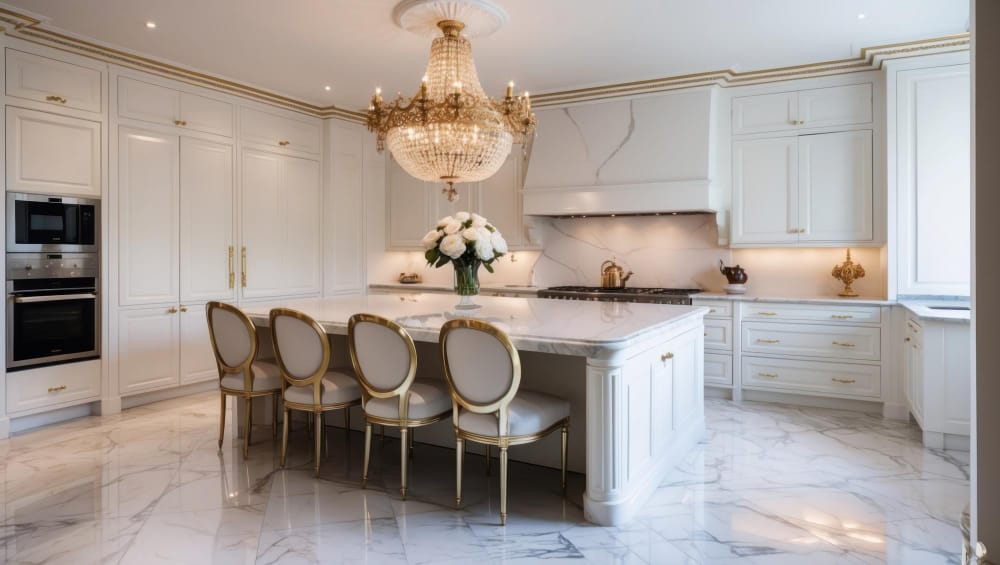
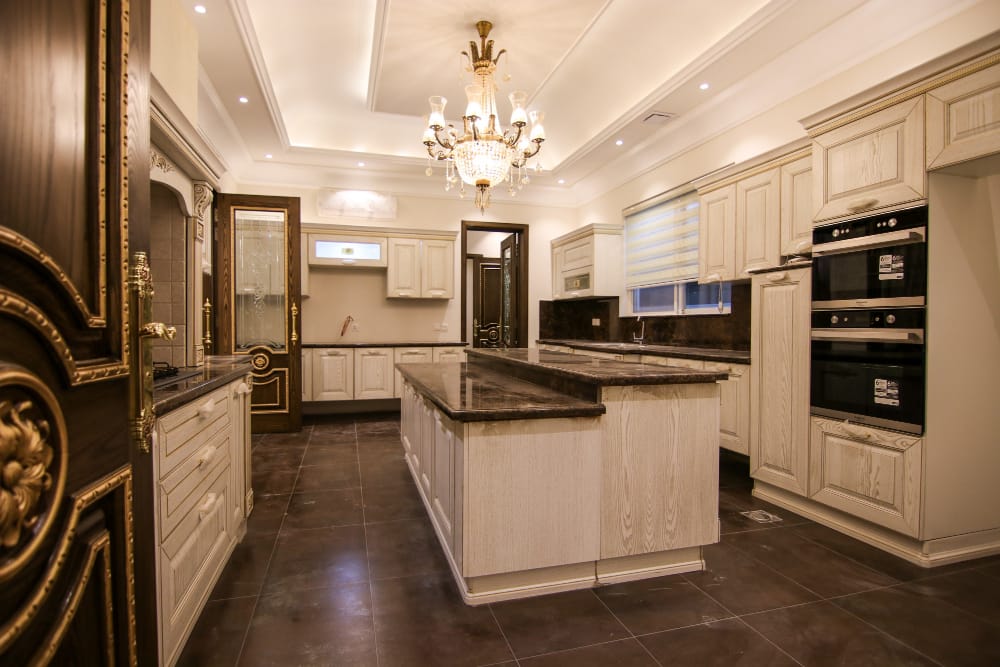
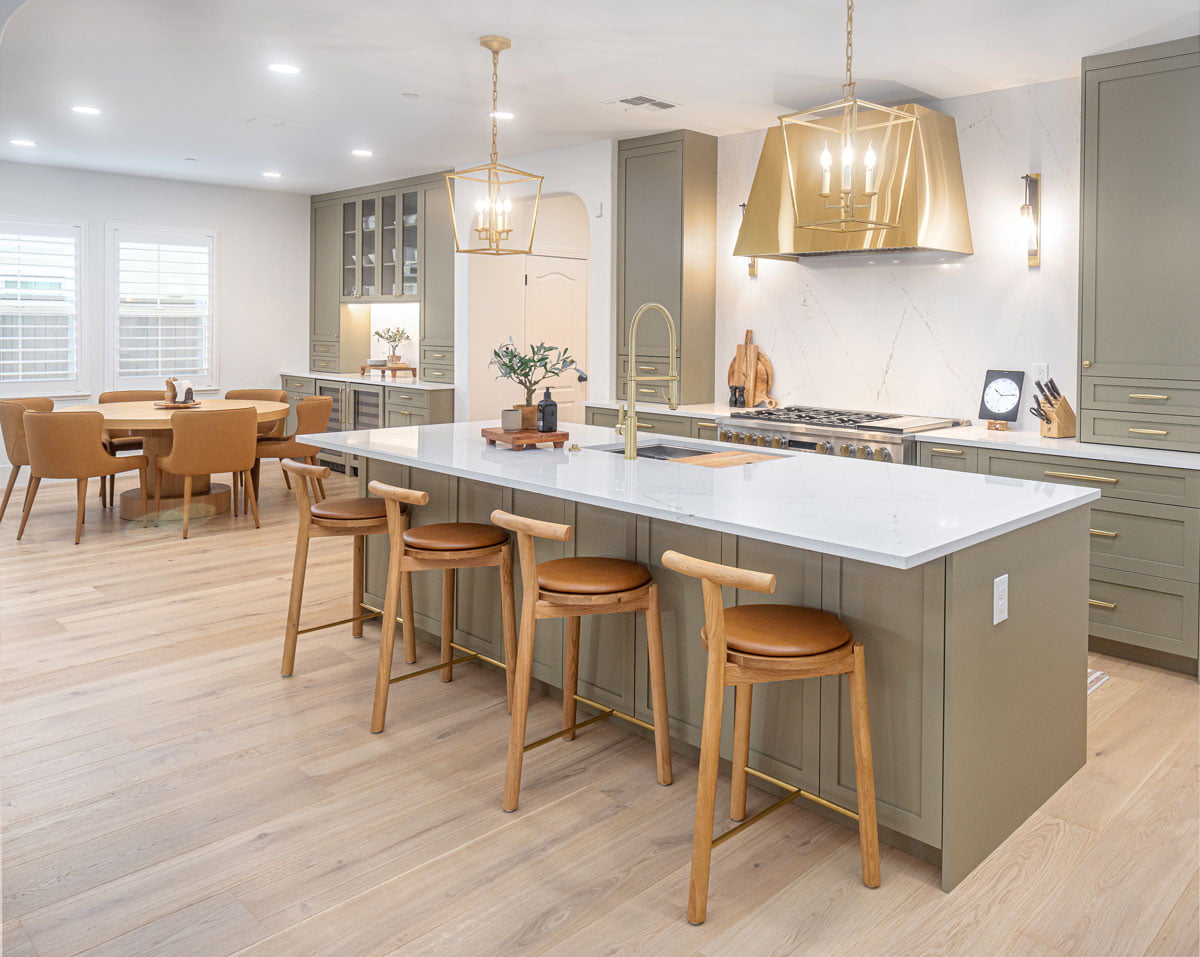
2. Color and Finish Pairings for 2025
This year’s most popular palettes favor quiet luxury — soft neutrals, mixed textures, and metallic details.
Trending combinations:
Matte white cabinets with brushed bronze fixtures.
Warm taupe countertops with graphite quartz islands.
Midnight blue cabinetry paired with gold hardware and digital lighting.
Technology becomes a subtle accent, not a distraction.
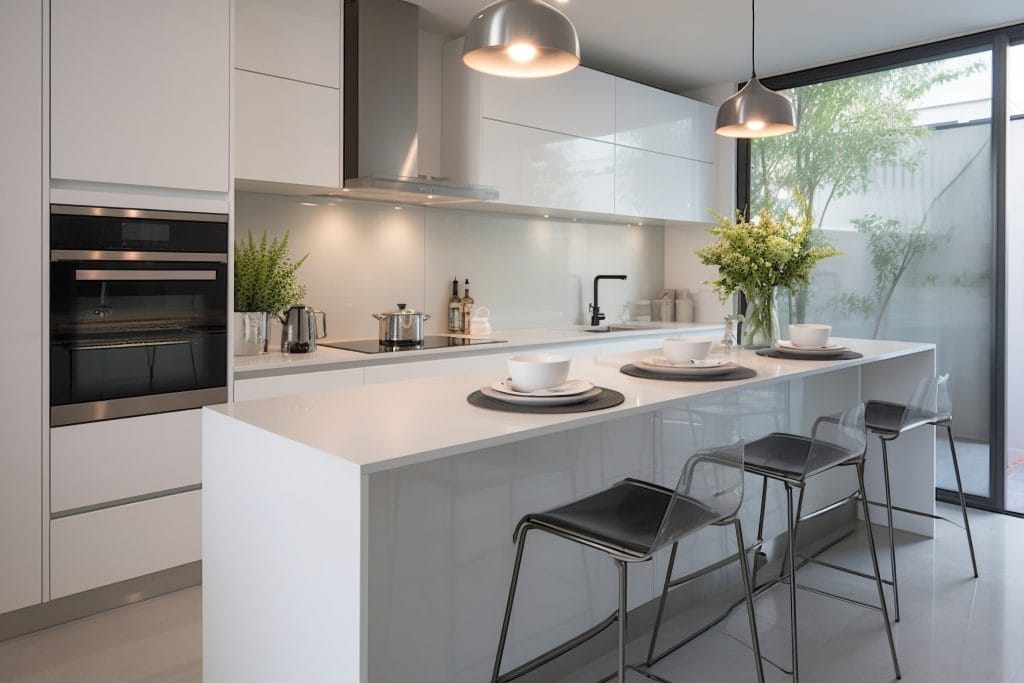
3. Lighting as Design Language
Lighting is the soul of the modern kitchen — and now, it’s smart.
Add motion sensors under cabinets to softly illuminate pathways.
Use color-tunable LEDs that shift tone throughout the day.
Install voice-controlled pendant lights for dining or cooking scenes.
Pro designers now treat light as a living element — adjusting to mood, time, and purpose.
4. Curate a Lifestyle, Not Just a Layout
A connected kitchen works best when it reflects how you live.
For the entertainers:
Install a smart wine fridge with temperature zoning.
Program ambient lighting scenes for dinner parties.
For families:
Add a smart display for calendars, meal planning, and recipe sharing.
Use app-linked appliances for after-school snacks and safe cooking.
For chefs at heart:
Voice-controlled ranges and guided-cooking ovens simplify gourmet prep.
Induction surfaces integrated into stone countertops create instant elegance.
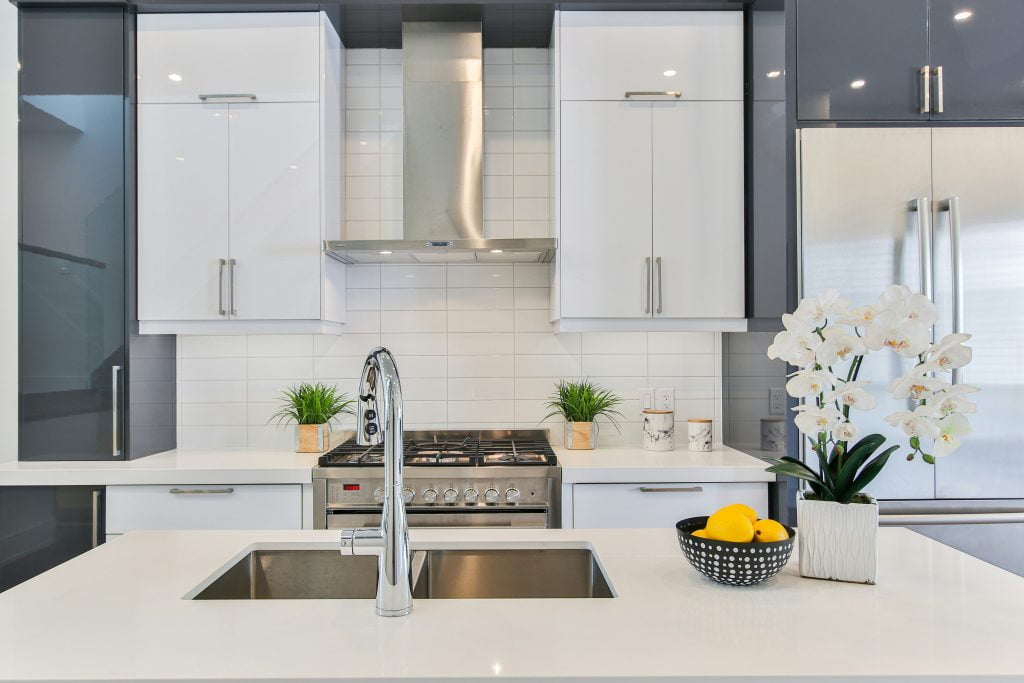
5. Bring in Statement Surfaces
Countertops, backsplashes, and finishes carry both beauty and brains.
Choose smart quartz countertops with built-in charging pads.
Use porcelain slabs for continuous backsplash and counter unity.
Add matte or leathered finishes for tactile contrast with tech elements.
For those who crave high-end detail, premium kitchen design improvements showcase the perfect harmony of craftsmanship and smart innovation.
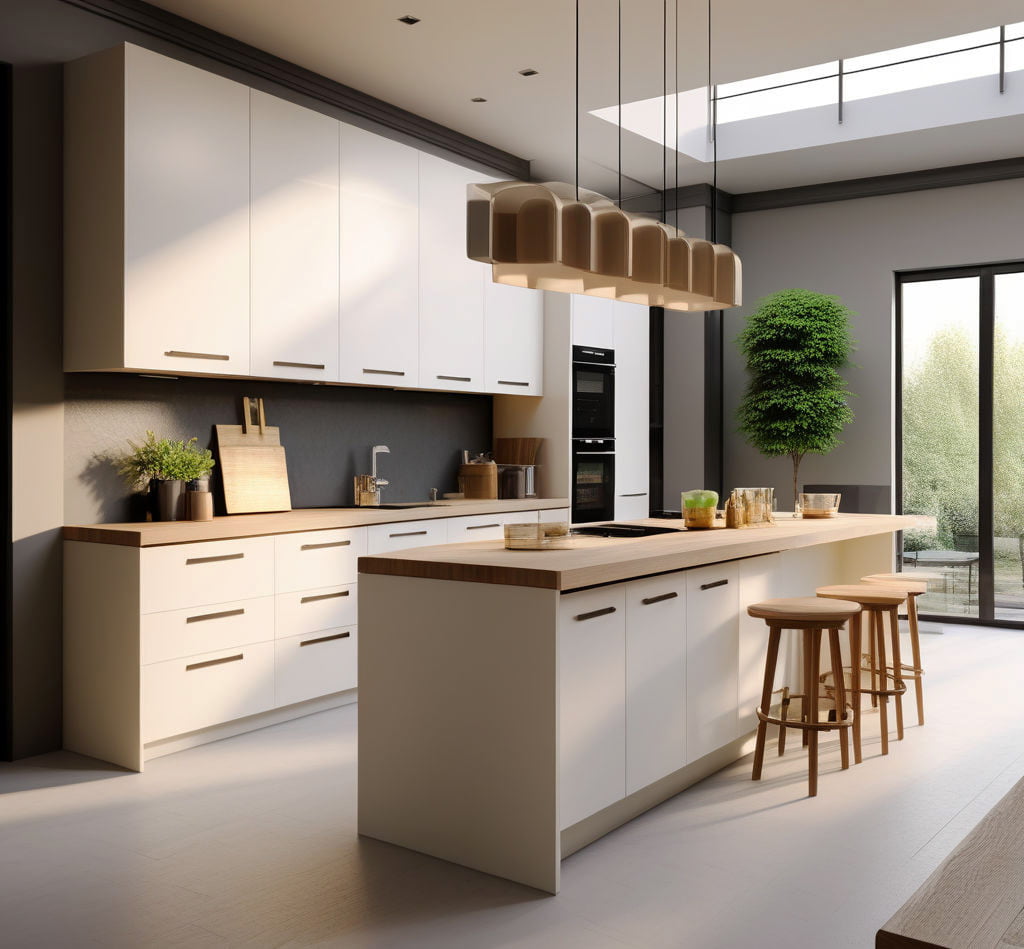
6. Smart Doesn’t Mean Cold
Balance technology with natural warmth:
Add wood tones through shelving or stool bases.
Introduce plants near lighting to soften the modern look.
Layer linen or stone textures to create a cozy, grounded atmosphere.
A well-balanced smart kitchen still feels like the heart of the home — only more intuitive.
Builder’s Notes
Creativity and technology are no longer opposites — they’re partners in modern kitchen design. The most inspiring remodels weave innovation into color, light, and texture, creating spaces that think beautifully.
👉 The smartest design decision you can make? Building a kitchen that adapts to you — in function, in feel, and in every detail.