How to Repair Rotted Siding and Protect Your Home
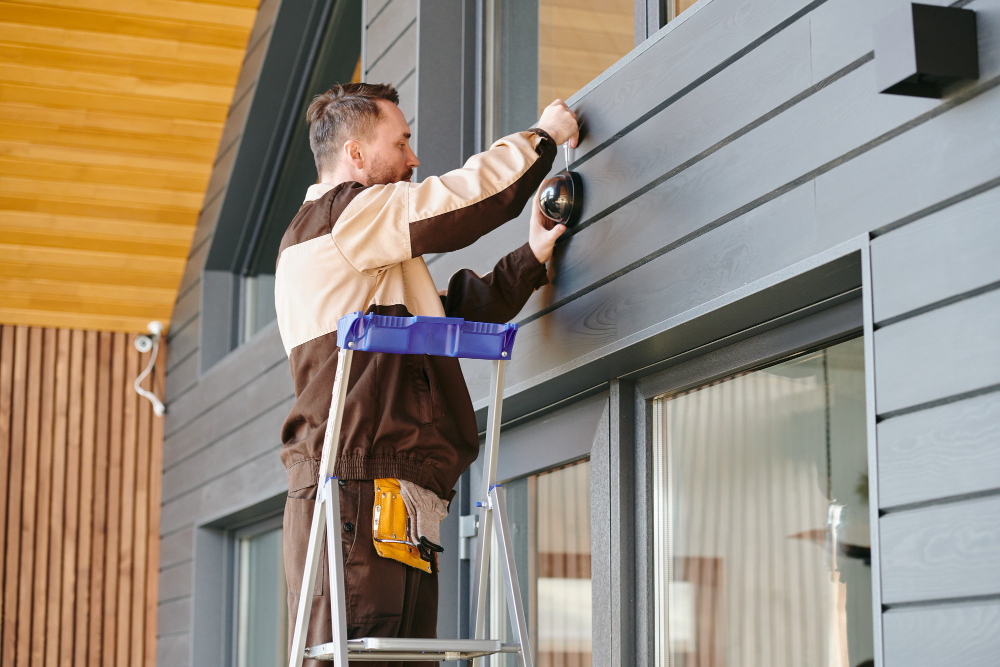
Exterior siding serves as a home’s first line of defense against the elements while contributing significantly to curb appeal. Homeowners researching how to repair rotted siding are often looking for information about protecting their home’s exterior and maintaining long-term property value. Recognizing signs of siding deterioration and understanding available repair options can help homeowners make informed decisions about exterior maintenance and remodeling projects.
Addressing siding issues promptly can help preserve both the appearance and functionality of a home’s exterior.
Why Exterior Siding Matters
Siding performs several important functions that contribute to a home’s overall performance.
Quality siding helps provide:
- Weather protection
- Enhanced curb appeal
- Architectural character
- Structural protection
- Long-term durability
- Property value support
These benefits make siding maintenance an important aspect of homeownership.
Common Signs of Siding Deterioration
Changes in Appearance
Visual changes are often among the first indicators that siding may require attention.
Homeowners frequently notice:
- Surface irregularities
- Discoloration
- Visible wear
- Exterior damage
Regular inspections can help identify issues early.
Performance Concerns
Siding plays a critical role in protecting the home’s structure.
Homeowners often monitor:
- Exterior condition
- Weather exposure effects
- Maintenance needs
- Long-term durability
Understanding these factors supports proactive maintenance planning.
Age-Related Wear
Over time, exterior materials naturally experience wear from environmental exposure.
Common influences include:
- Sun exposure
- Moisture
- Temperature fluctuations
- Seasonal weather conditions
These factors contribute to the need for periodic maintenance and updates.
Benefits of Addressing Siding Issues Promptly
Preserving Curb Appeal
Exterior appearance significantly influences a home’s overall attractiveness.
Well-maintained siding can help:
- Create a positive first impression
- Enhance architectural beauty
- Improve neighborhood presence
- Support long-term aesthetics
These advantages contribute to stronger curb appeal.
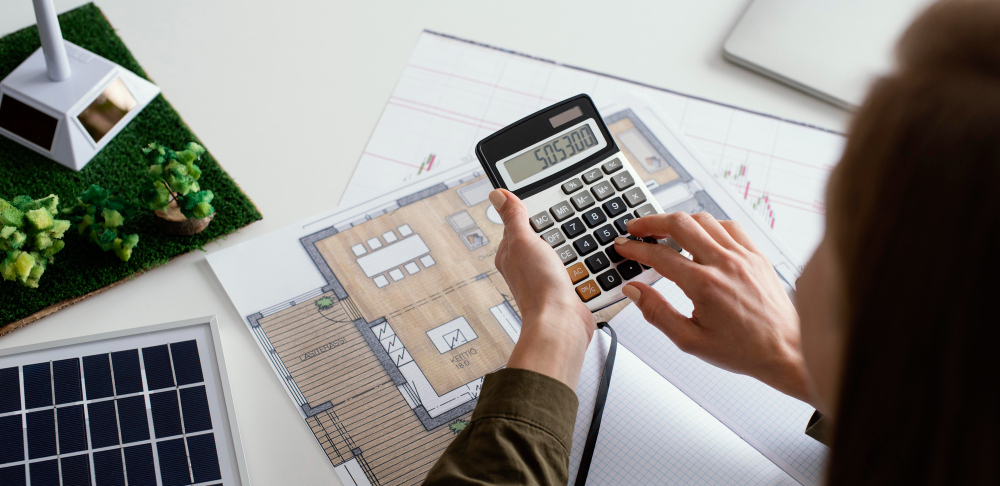
Supporting Property Value
Exterior condition often influences perceived home quality.
Maintaining siding may help:
- Increase buyer confidence
- Enhance marketability
- Improve resale appeal
- Protect long-term value
These factors make exterior upkeep a worthwhile investment.
Encouraging Long-Term Exterior Performance
Routine maintenance helps homeowners stay ahead of larger renovation needs.
Common goals include:
- Maintaining exterior quality
- Protecting structural components
- Reducing future repair concerns
- Supporting long-term durability
These priorities contribute to effective home maintenance strategies.
Current Exterior Remodeling Trends
Preventative Home Maintenance
Homeowners increasingly recognize the value of proactive exterior care.
Popular priorities include:
- Regular inspections
- Timely repairs
- Exterior upgrades
- Long-term property protection
Preventative maintenance helps support home performance.
Modern Siding Solutions
Exterior remodeling projects often focus on combining durability with attractive design.
Homeowners frequently seek:
- Updated siding materials
- Enhanced curb appeal
- Low-maintenance options
- Improved exterior aesthetics
These goals continue shaping renovation decisions.
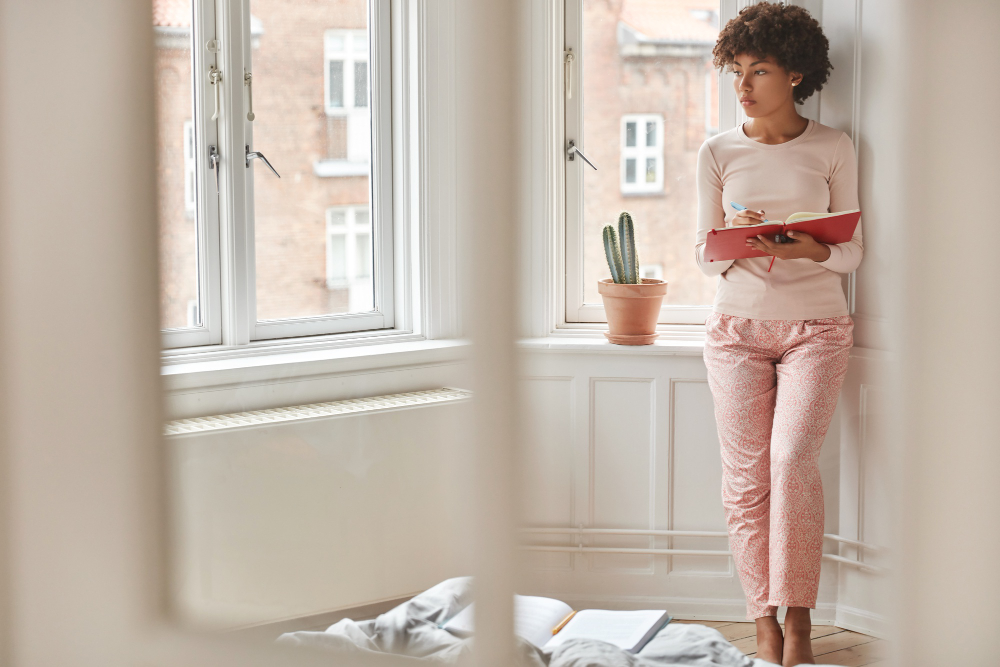
Educated Home Improvement Planning
Many homeowners researching repairing damaged siding solutions are looking to better understand exterior maintenance strategies and long-term remodeling opportunities.
Why Professional Evaluation Matters
Siding concerns can vary significantly from one home to another.
Experienced remodeling professionals can help homeowners:
- Assess exterior conditions
- Identify appropriate solutions
- Coordinate repair strategies
- Support long-term maintenance goals
- Enhance overall property appearance
Professional guidance helps homeowners make informed decisions about exterior improvements.
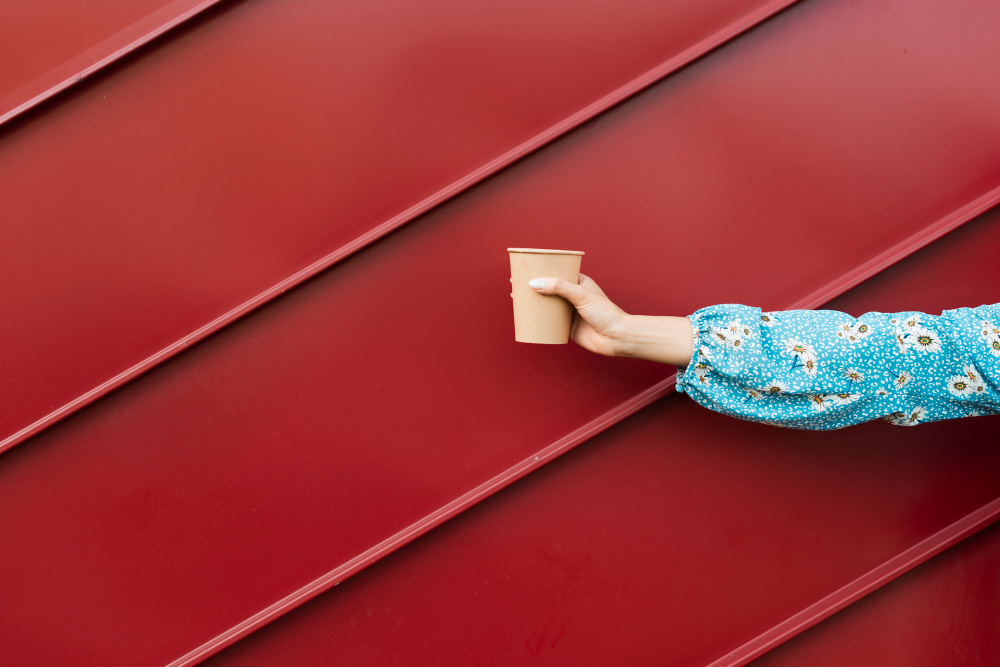
Protecting Your Home Through Proper Siding Care
Maintaining exterior siding is an important part of preserving a home’s appearance, durability, and long-term value. By understanding common signs of deterioration and exploring available solutions, homeowners can confidently plan maintenance and renovation projects.
Whether researching exterior upkeep or exploring options for rotted siding repair, proactive attention to siding condition helps create a home that remains attractive and well-protected for years to come.